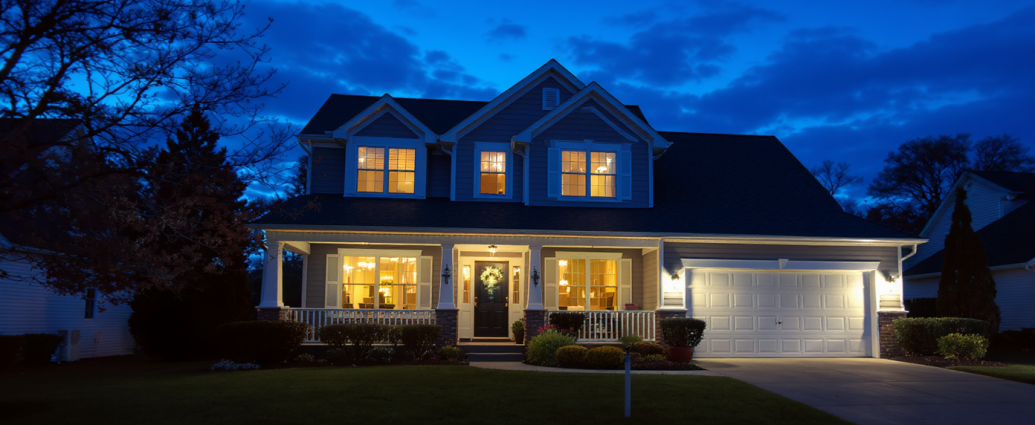
Poor property photos can make a clean, attractive home appear cramped, dark, or poorly maintained. Better results don’t always require an expensive camera. Lighting, room preparation, camera position, and consistent editing usually have a greater effect on how clearly buyers understand a property from a listing.
Start With the Room Before the Camera
Photography cannot completely hide clutter, tangled cords, overloaded counters, or distracting personal items. Preparing the room first gives light cleaner surfaces to reflect from and makes the photograph easier to read.
Remove temporary clutter while keeping enough furniture to show scale and purpose. An empty room can sometimes appear larger, but it may also make dimensions harder for viewers to judge.
Use Natural Light Without Overexposing Windows
Open curtains and blinds where appropriate and photograph rooms when daylight is useful rather than harsh. Direct midday sunlight can create bright windows and deep interior shadows that are difficult to balance.
People browsing general property reading may see dramatically edited listing images, but maximum brightness isn’t the goal. The room should look inviting while still resembling what a visitor will actually see.
Turn On Lights Selectively
Interior lamps can fill dark corners, yet mixing several different bulb colors may make walls look inconsistent. Test the room with lights on and off before deciding which version looks cleaner.
Replace failed bulbs and try to keep visible fixtures reasonably consistent. Small details become surprisingly noticeable in wide property photographs.
Position the Camera for a Natural View
Extreme angles often create more problems than they solve. Holding the camera too high makes furniture look low and distorted, while shooting from a corner with an excessively wide lens can stretch rooms beyond believable proportions.
Useful real-estate presentation ideas can inspire different approaches, but accuracy should remain part of the listing. Buyers may lose confidence when photographs make a modest room look enormous and the viewing tells a different story.
| Photo Problem | Likely Cause | Better Approach |
|---|---|---|
| Dark room | Weak interior exposure | Add usable daylight |
| White windows | Overexposure | Balance indoor and outdoor light |
| Leaning walls | Camera tilted | Keep camera level |
| Distracting room | Too much clutter | Simplify before shooting |
Edit for Clarity, Not Reinvention
Basic editing can correct exposure, straighten vertical lines, improve white balance, and make a set of photographs look consistent. Heavy editing can create unrealistic colors, glowing windows, oversaturated lawns, or room dimensions that don’t match reality.
Broader home presentation resources may offer decorating inspiration, while listing photography has a narrower job: show the property clearly. Good editing supports what the camera captured instead of inventing features that aren’t there.
For an important sale or competitive market, professional photography may still be worth considering. The tradeoff is cost, but an experienced property photographer may bring better lighting control, composition, equipment, and workflow.
Where Property Photography Often Goes Wrong
Trying to make every room appear huge can produce photographs that feel artificial. Another common mistake is photographing from whatever angle gives the widest view, even when that position makes the room confusing.
Consistency also matters. A listing with several excellent photographs and several dark phone snapshots can feel unfinished. Buyers usually need a coherent visual sequence that helps them understand how the property looks and how the spaces relate to one another.
Frequently Asked Questions
What time of day is best for property photos?
It depends on the direction of the windows and the property’s surroundings. Look for a time when useful natural light enters the room without creating severe glare or deep shadows. Different sides of a home may photograph better at different times.
Should every light be turned on for listing photos?
Not necessarily. Interior lighting can brighten dark areas, but mixed bulb temperatures may create uneven color. Test each room and use the combination that produces the most natural, balanced appearance.
Is a smartphone good enough for real-estate photography?
Modern phones can produce strong results in good lighting, especially for straightforward listings. Difficult interiors, small rooms, bright windows, and high-value properties may benefit from specialized lenses, lighting techniques, or professional photography.
Make Every Photo Explain the Property
A useful property photograph should answer questions instead of creating them. Prepare the room, choose balanced light, keep the camera level, and edit with restraint. Better lighting can dramatically improve an ordinary photo, but believable proportions and consistent presentation matter just as much. Aim to make online viewers feel they understand the home before they arrive for a viewing.